Frameworks like Agno have made it easier than ever to create AI agents. Yet, for enterprise engineering teams, accessibility is only the beginning. The real challenge and opportunity lies in deploying production-grade, autonomous assistants that can orchestrate complex business workflows, integrate logically with diverse enterprise systems, and scale reliably across thousands of users, all while minimising backend complexity and operational overhead.
Here xpander.ai comes in!
xpander.ai helps companies move from prototypes to quickly create reliable agents that run in real-time, automate tasks, and facilitate secure, multi-user collaboration. With one, API-first platform that does away with infrastructure headaches, teams can turn their attention to innovation and business logic.
To help you visualise how xpander.ai works, we will be building a Travel & Expense Assistant Using xpander.ai and Agno Framework. If you’re ready to scale intelligent agents with minimal friction and maximum impact, then read on!
xpander.ai: An Overview
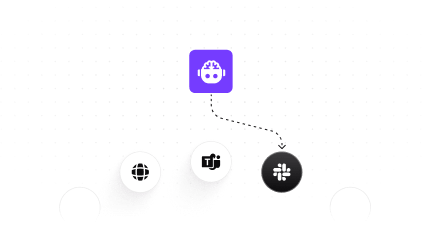
xpander.ai is an enterprise grade platform that allows engineering teams to develop, deploy, and maintain autonomous AI agents with the ability to run advanced, multi-step workflows on a wide variety of systems. Productized for production environments, xpander.ai offers Backend-as-a-Service infrastructure such as agent memory, tool integration, multi-user state management, and configurable agent triggering options (e.g., APIs, web UI, Slack, Teams) to enable agents developed with any framework or SDK
The xpander.ai has a number of packages that can assist you in building, operating, and interacting with AI agents. Each package serves a specific function within the xpander platform.
- xpander-sdk: Main SDK for interaction with xpander.ai agents. Equip your AI agents to manage messages, tools, and coordinate multi-step, multi-agent workflows on several AI frameworks or LLM models. Implemented in Python, Node.js, C#, and Java.
- xpander-cli: Command-line tool to orchestrate the xpander.ai control plane. Provision and deploy agents, update configurations, and automate workflows from the command line. Built using Python, Node.js, C#, and Java.
- xpander-mcp-remote: MCP bridge utility to connect MCP clients (such as Claude Desktop) to xpander.ai services. Allows MCP clients to talk to xpander agents and operations using a lean URL-based interface. Mainly utilized as an npx command-line tool.
- xpander-utils: Python developer integration utilities. Integrate xpander.ai with AI agent frameworks such as Hugging Face, CrewAI, ChainLit, LangGraph, and others. Python only.
To read documentation, go through this: https://docs.xpander.ai/docs/01-get-started/01-inde
What We’re Building: Travel & Expense Assistant
Here, we are ideating and describing how the end user engages with a Travel & Expense Assistant, built with the Agno framework and supported by the backend infrastructure of xpander.ai. Agno helps in building individual agents and communicates with them.
Step 1: Flight Booking The user enters flight details, which are processed by an Agno-built agent. xpander then triggers the booking agent to fetch real-time flight data from the Aviationstack API.
Step 2: Taxi Expense Logging The user logs a taxi expense. xpander validates it against policy rules and securely stores it using its backend infrastructure.
Step 3: Reminder Creation The user asks to set a reminder. xpander fires another agent that sends a Slack notification on the user’s behalf.
What are the Features of Our Agent?
Here are two major things that we will do with our agent:
1. Travel Management
Book and organise your business travel with ease through intelligent, agent-based processes.
- Flight Reservation: Reserve flights conveniently with IATA airport codes, with automatic parsing of the input and real-time data fetching.
- Hotel Reservations: Book rooms specific to your needs, on flexible criteria such as time, location, cost.
- Trip Planning: Enable smart bundling of flights and hotels into best-fit itineraries based on the budget levels and travel preferences of the user.
2. Expense Management
Track, validate, and report expenses with full policy compliance and minimal manual effort.
- Automated Reminders: Anytime reminders using Slack to remind users about pending expense reports and more.
- Expense Logging: Logging business and travel expenses by categories (e.g., meals, taxi, lodging), thus allowing proper and systematic recordkeeping.
- Policy Compliance: Automatically verify logged spending against the company’s policy rules and mark any non-compliant transactions in real-time.
- Summaries and Reports: Create well-organised and categorised expense reports for audit or submission, thus simplifying the reconciliation and approval process.
Pre-requisites for the Project
Before you get started, make sure your environment is set up with the necessary tools, libraries, and API access.
- Python 3.12.1+ Version: The xpander-utils library requires Python version ≥ 3.12.1.
- Access to the xpander SDK: Required for backend orchestration, memory management, and multi-agent execution (it has built-in support for function calling, schema management, and prompt orchestration).
Refer to this repo: xpander SDK
- Familiarity with the Agno Framework: Essential for understanding agent creation, orchestration, and collaborative workflows.
- API Keys for the following services:
- Aviationstack – for real-time flight data and schedules.
- Slack Bot API – to enable automated reminders and notifications.
- Nebius AI – for LLM capabilities such as chat, reasoning, and natural language understanding.
Keep all the APIs safe and follow the following steps for installation:
1. Clone the repository
This downloads the project code to your machine and navigates into the project directory.
git clone [repository-url]
cd [repository_name]
2. Create and activate a virtual environment
Creates an isolated Python environment to manage dependencies cleanly:
NOTE: xpander_utils is not supported natively by Windows, so you will need to use WSL for proper support.
Windows (Command Prompt or PowerShell)
- Install WSL (if not already)
Open PowerShell as Administrator and run:
wsl --install- This installs Ubuntu by default.
- Restart your PC when prompted.
- Install VS Code + WSL Extension
- Download and install VS Code: https://code.visualstudio.com/
- Open VS Code and install the “WSL” extension:
- Press
Ctrl+Shift+X→ search forWSL→ Install.
- Press
- Launch VS Code in WSL
Open a terminal and run:
wsl
cd /path/to/your/project
code .
This opens VS Code in WSL mode, using the Linux environment.
Run the following in your WSL terminal:
curl -fsSL https://deb.nodesource.com/setup_18.x | sudo -E bash -
sudo apt install -y nodej
Verify installation:
node -v
npm -v
python -m venv venv
venv\Scripts\activatemacOS (Terminal)
python3 -m venv venv
source venv/bin/activate
3. Install dependencies
Installs all required Python libraries for the project. These are the packages you need to install:
xpander-sdk
agno
python-dotenv
xpander-utils
asyncio
python-dateutil
slack-sdk
certifi
requests
openai
sqlalchemy
pygithub
pip install -r requirements.txt4. Configuring Your Environment
Create a .env file in the root of your project and add your API keys:
AVIATIONSTACK_KEY=your_aviationstack_key
NEBIUS_API_KEY=your_nebius_key
SLACK_BOT_TOKEN=your_slack_bot_token
SLACK_CHANNEL_ID=your_channel_id
OPENAI_API_KEY=your_openai_key ##in case you are not using Nebius
To get the Slack bot token and channel ID, refer to this doc: Slack API
5. Configure the xpander_config.json File
This file stores your xpander credentials and agent configuration required to connect to the backend. Here’s how you can get the credentials:
- Step 1: Access xpander.ai and log in to your account.
- Step 2: From your Dashboard, initiate the creation of a New Agent. This will guide you through the initial setup process.
- Step 3: Upon successful Agent creation, the Agent configuration panel will automatically open. Click on the “Connect” tab within this panel.
- Step 4: Within the “Connect” tab, look for the “SDK” section. Your unique Agent ID will be displayed there.
- Step 5: To obtain your Organisation ID and API Key, click on the “Settings” icon and then locate your API key.
{

"organization_id": "<YOUR_ORG_ID>",
"api_key": "<YOUR_XPANDER_API_KEY>",
"agent_id": "<YOUR_AGENT_ID>"

}
After doing all the pre-requisites and installation, we are proceeding with the hands-on part.
Here, we will understand the entry point of this project.
Hands-on Travel & Expense Assistant
We have built a CLI agent interaction loop, built on top of the xpander backend for managing AI agents and workflows. Here’s a breakdown of what’s happening and the role of xpander:
import asyncio
import json
from pathlib import Path
from xpander_utils.sdk.adapters import AgnoAdapter
from orchestrator.agno_agent import AgnoAgentOrchestrator
# Load configuration from a local JSON file
CFG_PATH = Path("xpander_config.json")
xpander_cfg = json.loads(CFG_PATH.read_text())
async def main():
# Initialize the backend adapter using config values
xpander_backend = AgnoAdapter(
agent_id=xpander_cfg["agent_id"],
api_key=xpander_cfg["api_key"]
)
# Create and use the orchestrator within an async context
async with AgnoAgentOrchestrator(xpander_backend) as orchestrator:
# Trigger the expense workflow for a given user and session
workflow_result = await orchestrator.expense_workflow(
user_id="user123",
session_id="session456"
)
print("Expense Workflow Result:", workflow_result)
# Enter a loop to interact with the agent via CLI
while True:
message = input("\nYou: ")
if message.lower() in ["exit", "quit"]:
break
response = await orchestrator.run(
message=message,
user_id="user123",
session_id="session456",
cli=True
)
# Run the main coroutine when the script is executed
if __name__ == "__main__":
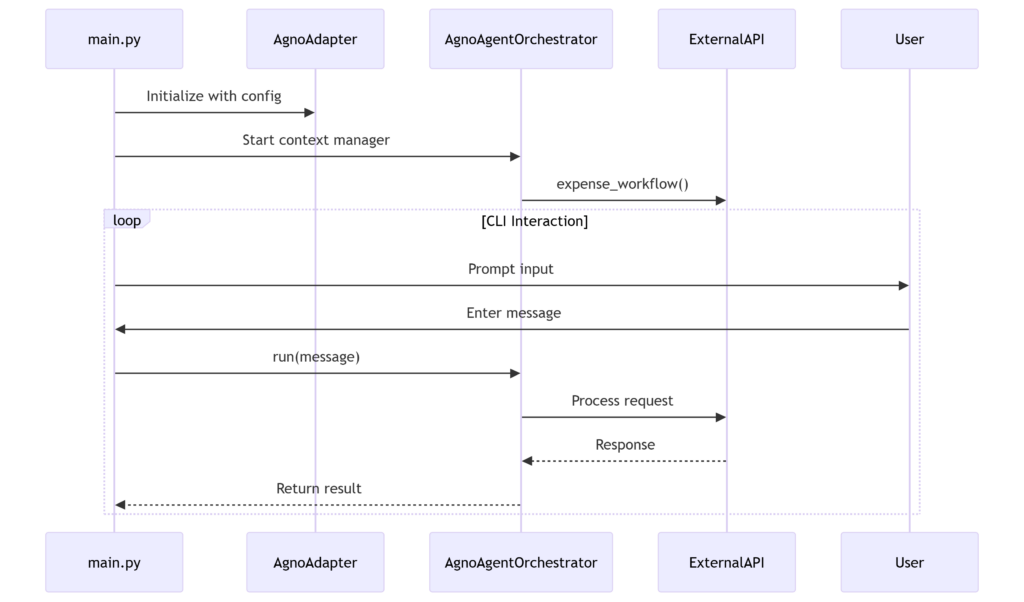
asyncio.run(main())Workflow of the code that implements an AI agent orchestrator:
Code Breakdown
Here’s the explanation of the code:
1. Imports & Setup
Here we have initialised the configuration and core dependencies
import asyncio
import json
from pathlib import Path
from xpander_utils.sdk.adapters import AgnoAdapter
from orchestrator.agno_agent import AgnoAgentOrchestrator

CFG_PATH = Path("xpander_config.json")
xpander_cfg = json.loads(CFG_PATH.read_text())
Here are the key components:
xpander_config.json: External configuration fileAgnoAdapter: Handles communication with an external service/APIAgnoAgentOrchestrator: Core business logic controller
2. Main Workflow
The code initialises xpander’s AI backend via AgnoAdapter, executes an expense workflow, and runs an interactive CLI chat using our custom agno_agent.py orchestrator.
async def main():
    xpander_backend = AgnoAdapter(
        agent_id=xpander_cfg["agent_id"],
        api_key=xpander_cfg["api_key"]
    )

    async with AgnoAgentOrchestrator(xpander_backend) as orchestrator:
        # Predefined workflow execution
        workflow_result = await orchestrator.expense_workflow(
            user_id="user123",
            session_id="session456"
        )

        # Interactive CLI loop
        while True:
            message = input("\nYou: ")
            if message.lower() in ["exit", "quit"]:
                break
            response = await orchestrator.run(
                message=message,
                user_id="user123",
                session_id="session456",
                cli=True
            )
Here are the Key Components:
- Handles user input and agent responses
- Initializes backend connection using config values
- Executes a predefined
expense_workflow - Starts interactive CLI session
3. Entry Point
Uses Python’s async runtime to start the application
if __name__ == "__main__":
    asyncio.run(main())
What’s happening inside:
xpander.ai is the AI agent back-end system providing the intelligence and workflow execution behind the assistant. It integrates with the project through the AgnoAdapter, using credentials from xpander_config.json. The AgnoAgentOrchestrator serves as the local orchestrator, delegating tasks like real-time conversation handling and workflow execution, such as travel planning and expense management, to the xpander.ai hosted agents.
The expense management workflow is encapsulated in the method expense_workflow inside agno_agent.py. This function sequentially triggers two core routines:
check_policy_impl: checks whether any logged expenses exceed policy thresholds (e.g., ₹5000), andsummarize_expenses_impl: generates a breakdown of total expenses by type and count.
Both are implemented in travel.py and are exposed as callable tools (PolicyTool and SummaryTool) in travel_tools.py, allowing the agent to dynamically decide when and how to use them in a conversation or autonomous workflow.
The result: Agent can not only log and categorize expenses but also proactively validate compliance and summarize spending, all while maintaining memory and session state via the integrated Memory and Storage modules from Agno SDK. (Agno SDK supports persistent, context-aware behavior, allowing the agent to remember and reason over past interactions. Meanwhile, xpander.ai serves as the hosted backend that runs the LLM and executes AI-driven reasoning based on the tools and workflows configured locally.)
By leveraging xpander’s SDK and infrastructure, developers bypass the complexity of building AI pipelines, memory systems, and tool orchestration from scratch. Instead, they can focus on designing intuitive workflows and user experiences for assistants that are intelligent, persistent, and production-ready.
In a nutshell, xpander.ai acted as a Backend-as-a-Service (BaaS) for your AI agents:

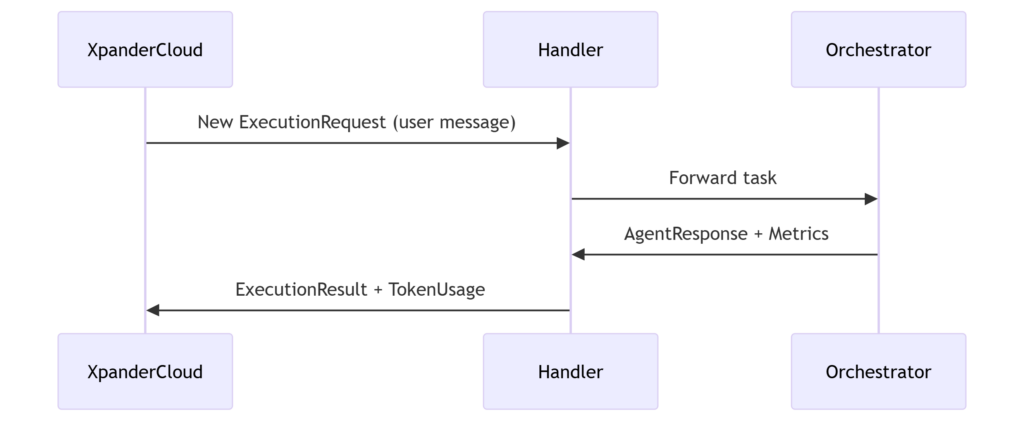
The CLI agent interaction loop is the frontend interface that communicates with xpander.ai’s backend using the AgnoAdapter, which initiates workflows and handles user sessions. This frontend integrates with the xpander Handler, the backend event processor – servicing execution requests, tool integrations, and workflow orchestration. While keeping track of state and performance. Collectively, they illustrate xpander.ai’s end-to-end feature wherein the CLI is concerned with user interaction and the Handler handles all complexity in the backend, with both pieces sharing communication via xpander’s single platform for an integrated agent deployment solution.
How the xpander Handler Works?
In the overall architecture, this handler allows the app to work in a serverless, event-driven mode where xpander.ai triggers agent executions remotely.
Unlike main.py , which runs a CLI-based local loop xpander_handler.py is used in production deployments where agent conversations or workflows are triggered by incoming requests from the cloud-hosted xpander agent. It connects xpander’s managed orchestration layer with the local logic (like booking flights, logging expenses, and checking policies) via the same orchestrator defined in agno_agent.py.
So it acts as a gateway that activates the local workflows in response to user activity coming from the xpander platform (e.g., a chat interface, API, or third-party app).
In a nutshell, this is an asynchronous event processor that bridges external AI execution requests (from xpander’s platform) with your local agent orchestration system. It performs three critical functions:
Initialization: Bootstraps the agent system with configuration and platform connectivity.
- Loads config (xpander_config.json) and environment variables
- Creates an AgnoAdapter to connect to xpander’s backend
- Initializes the AgnoAgentOrchestrator for agent coordination
Event Handling: Manages the complete request lifecycle from input to structured output.
- Listens for execution requests via XpanderEventListener
- Processes each request through the on_execution_request callback:
- Parses inputs (user messages, metadata)
- Routes tasks to the orchestrator (agno_agent_orchestrator.run())
- Tracks metrics (LLM token usage, performance)
- Returns structured results (AgentExecutionResult)
Key Features: Ensures scalable, fault-tolerant operations with comprehensive monitoring.
- Async-first design: Uses asyncio for high-concurrency processing
- Error resilience: Wraps executions in try-catch blocks
- Observability: Reports metrics back to xpander (token costs, AI model used)
Quickly Test the Working of the Agent
- For CLI Chat – Test the interactive chat experience: It launches a conversation interface with xpander’s AI agents
python main.py
- For Event Handling – Start the xpander backend service: Runs the core event processor for workflow automation
python xpander_handler.py
Note: The URLs can be seen in the terminal logs.
5. Run with Docker
- Build the image: Packages your app into a Docker image tagged xpander-travel
docker build -t xpander-travel .- Start the container: Maps port 8080 to expose the service
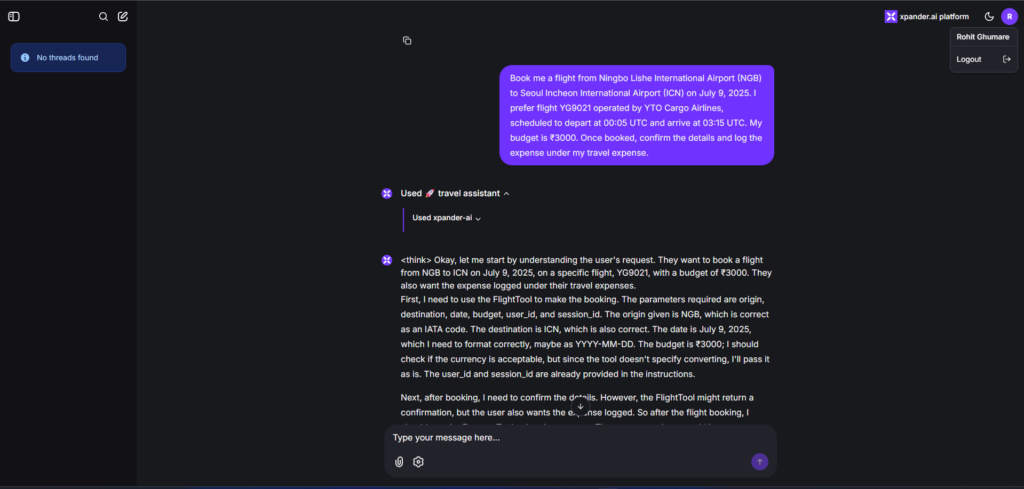
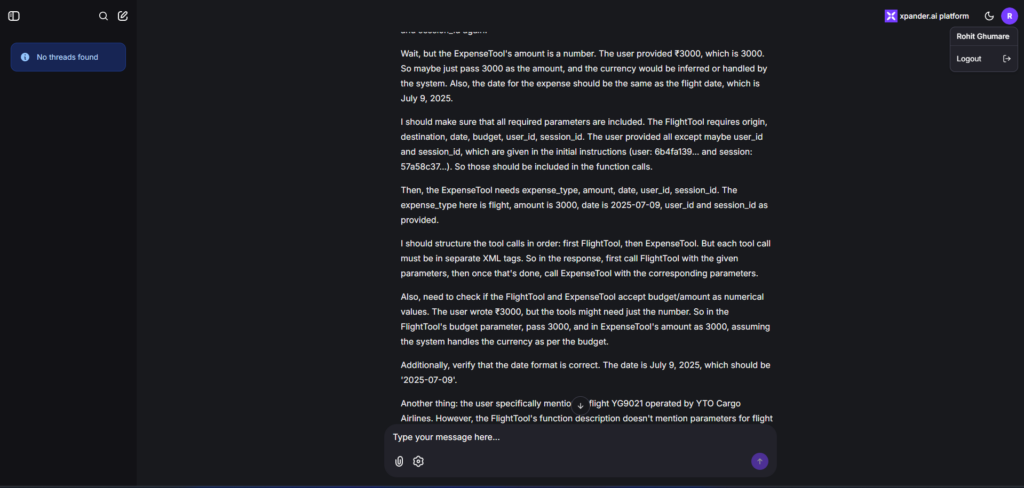
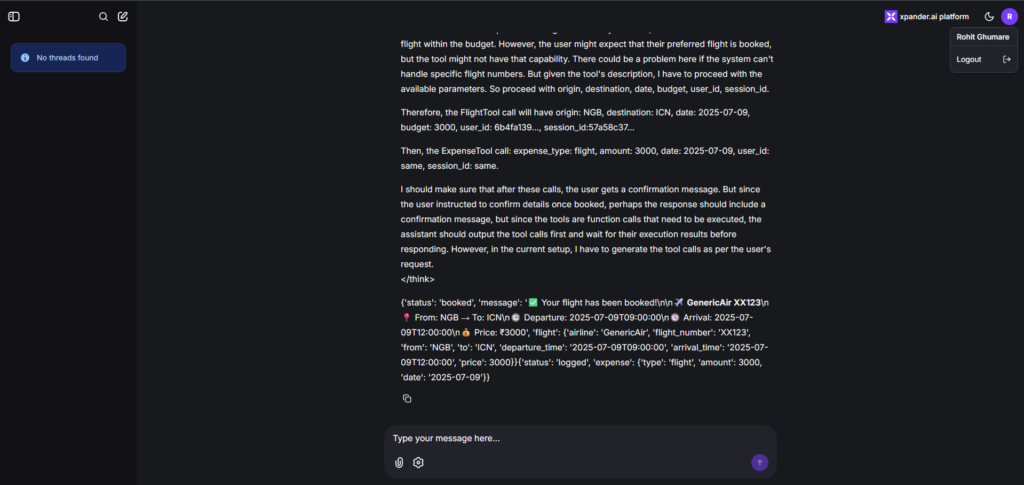
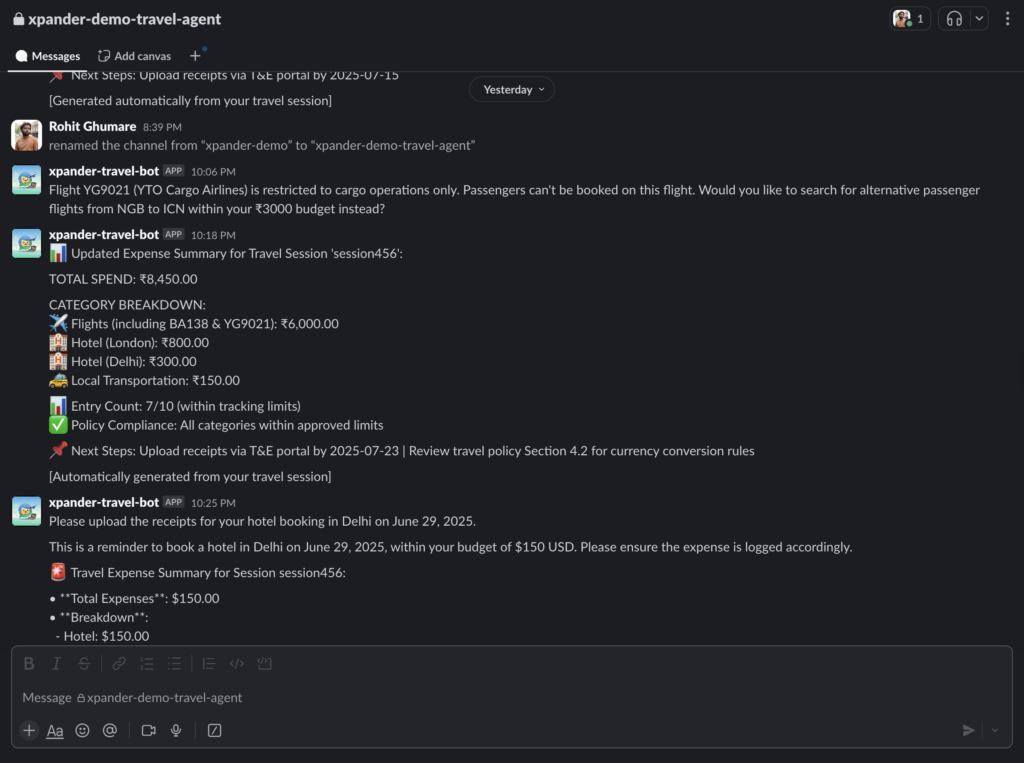
docker run -p 8080:8080 xpander-travelHere’s the Output of the Travel & Expense Assistant:
Put the prompt: Book me a flight from Ningbo Lishe International Airport (NGB) to Seoul Incheon International Airport (ICN) on July 9, 2025. I prefer flight YG9021 operated by YTO Cargo Airlines, scheduled to depart at 00:05 UTC and arrive at 03:15 UTC. My budget is ₹3000. Once booked, confirm the details and log the expense under my travel session.
Note: Random flights cannot be booked please curl the below url, as we are using free tier so its not possible to access all the data. Link: https://api.aviationstack.com/v1/flights?access_key=<YOUR_KEY>
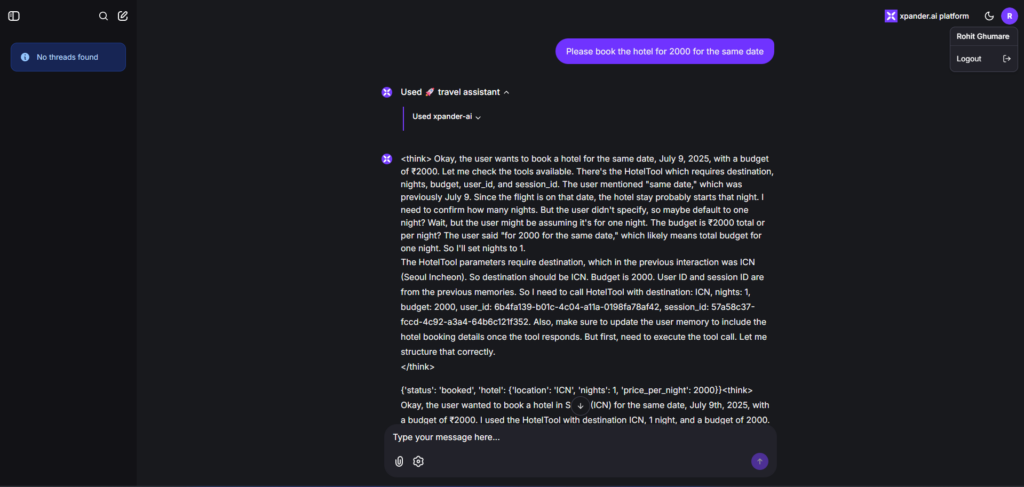
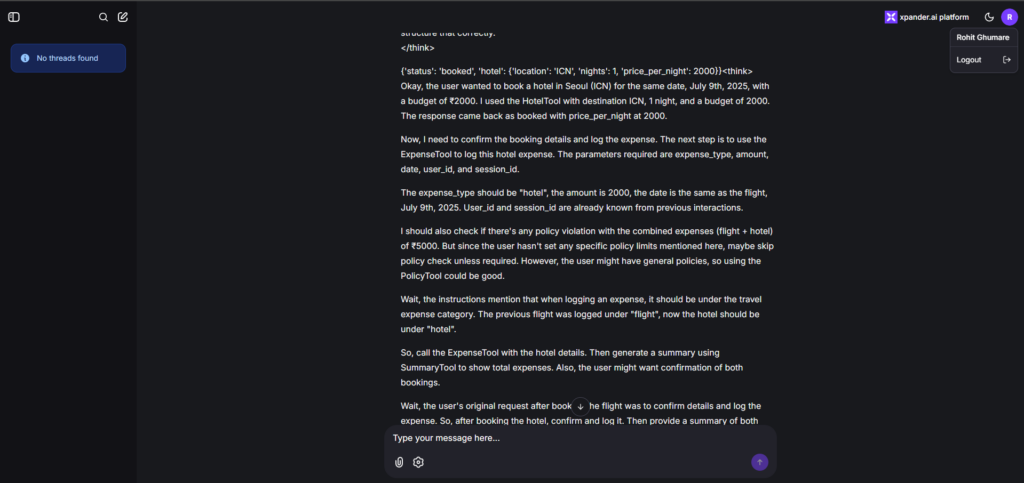
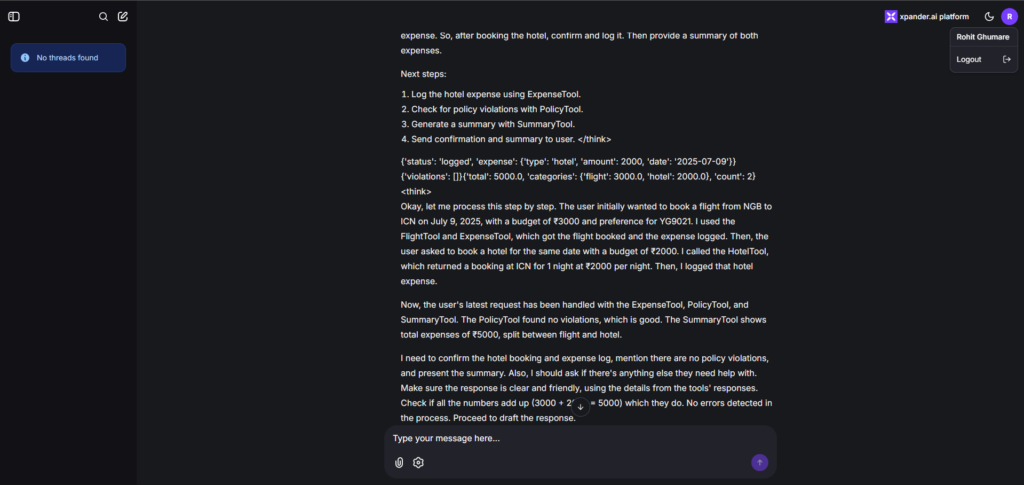
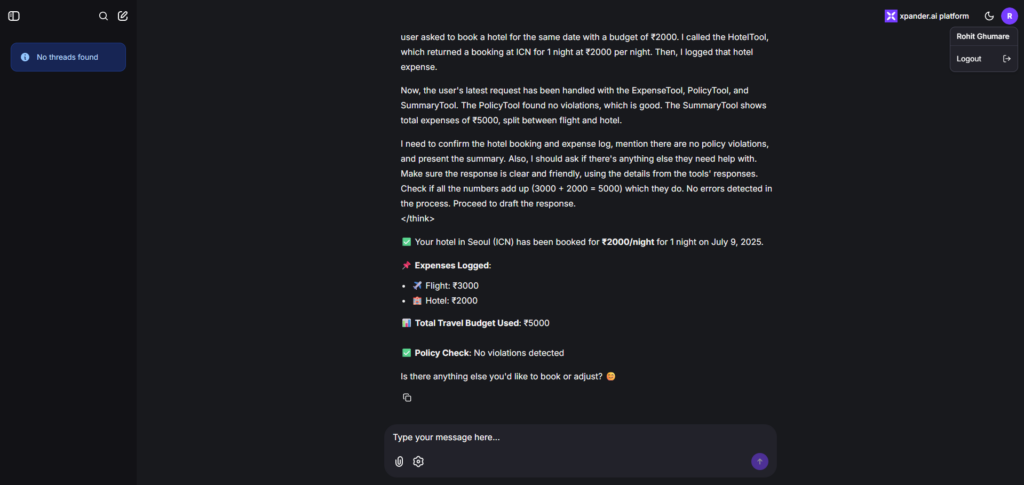
Put the prompt: Please book the hotel for 2000 for the same date
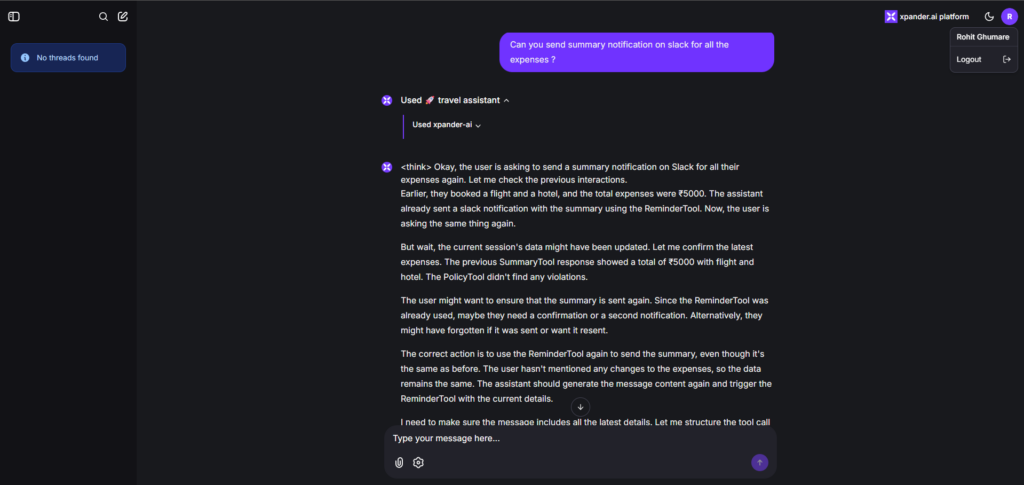
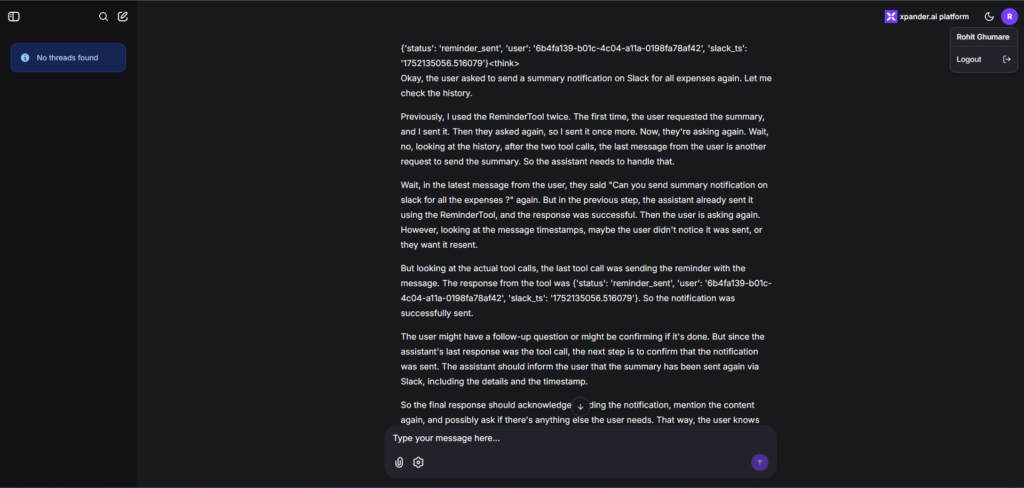
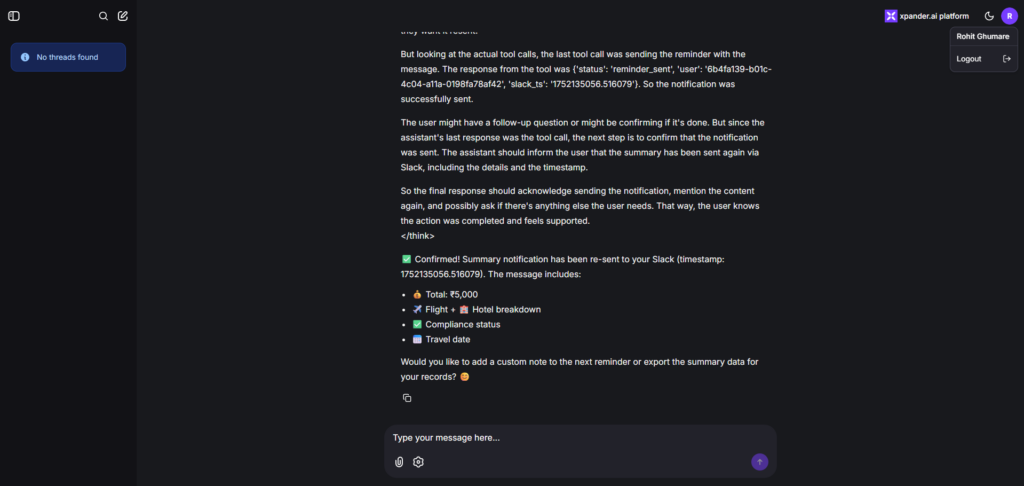
Put the prompt: Can you send summary notification on slack for all the expenses ?
Final Thoughts
xpander.ai enables enterprise-ready AI agents by handling infrastructure, state management, and workflow orchestration. The Travel & Expense Assistant showcases how xpander.ai, with an agent framework, enables secure, scalable deployments, transforming prototypes into production-ready assistants without the burden of backend complexity.
- Easy integration of business logic (Agno agents) with external systems (Slack, Aviationstack)
- State management for multi-user collaboration in real-time
- Production-grade reliability without infrastructure overhead
This deployment shows how xpander.ai turns prototypes into working assistants. Through management of memory, tool coordination, and execution triggers, it enables teams to concentrate fully on domain innovation quickening development while keeping enterprise security and scalability requirements intact.